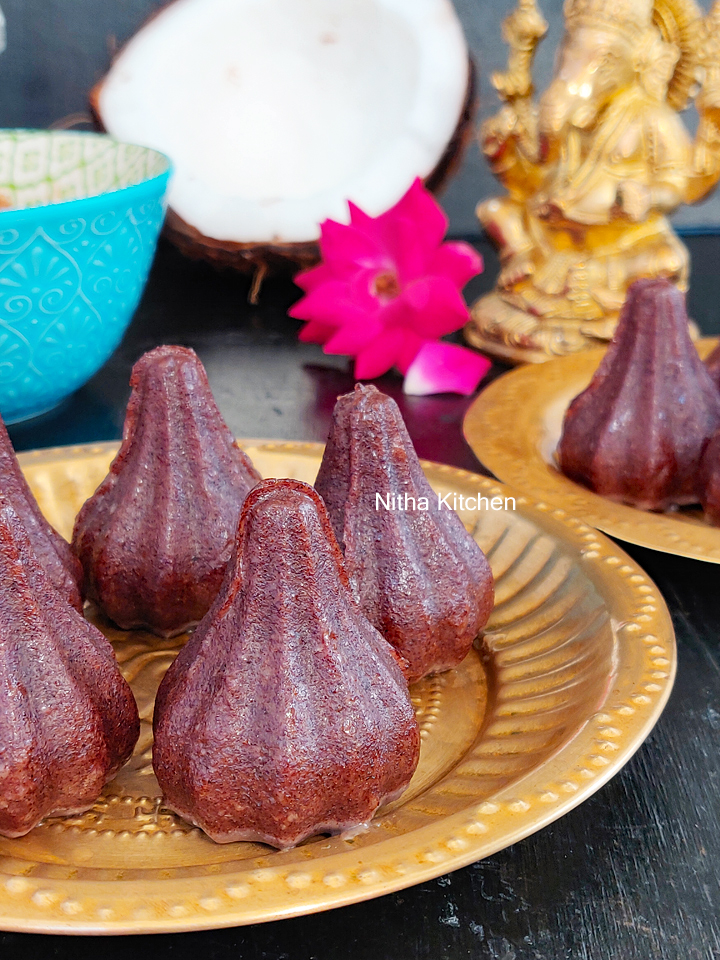
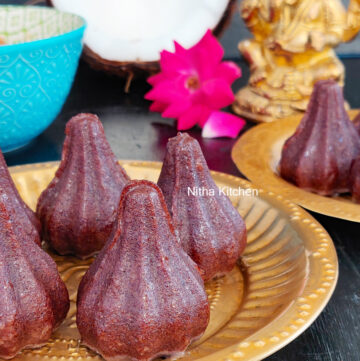
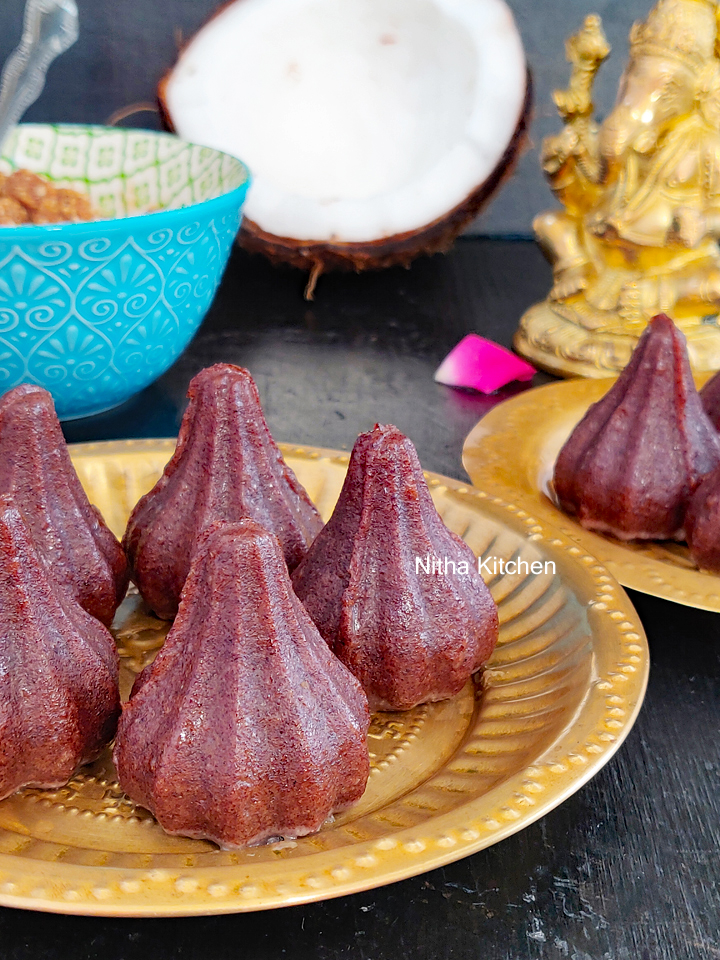
Ragi Millet Kozhukattai With Verkadalai Puranam / Ragi Millet Modaks (dumplings) With Sweet Peanut Stuffing : Before stepping into the detailed recipe I would like to apologize for not being active in blog and social medias for a while. I took a break in last May to
help kids for their exams. And I couldn’t come back after that since I was keep engaging them during summer holidays. Dear followers I promised to post a lot of recipes and shared a short clip of those videos in the related videos I posted in YouTube i.e mentioned “Video Recipe Coming Soon”. I kept the promise by posting some recipes but I couldn’t post all on time. Do bear with me and I will make the pending promised posts as soon as possible. We didn’t go out during summer break except one trip, that I will share in my next post. I was off from blogging for couple of months that means I did a lot of cooking and taught kids some basics in cooking. To be specific I have lot of millet recipes to come as time permits….
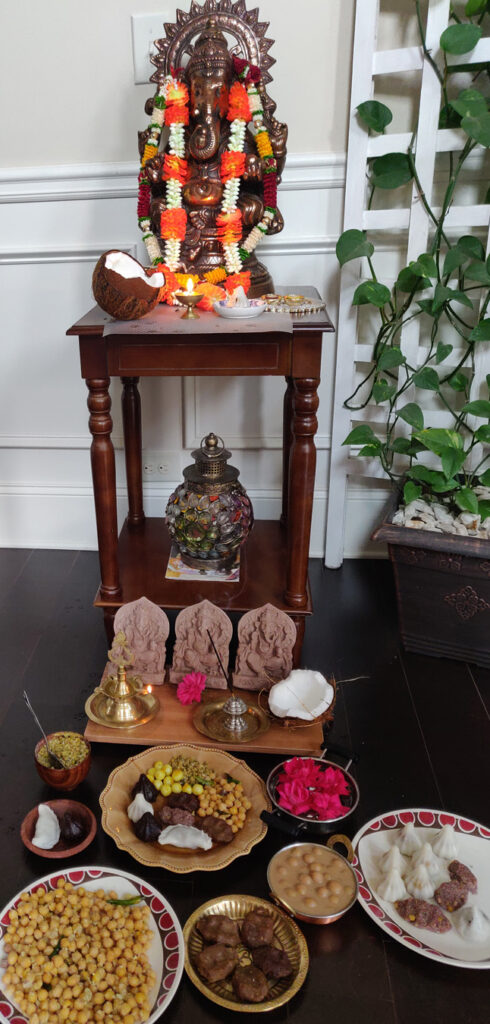
Coming to the recipe as I said previously I have lot of millet recipes to come and this is one among that category. I make this recipe on and off as a neivedhyam on auspicious days. You can see my 2018 Instagram post with these millet kozhukattai HERE below. Also planning to make it again for this year Vinayagar Chaturthi. If you like to know what I am making for this year festival and to watch my day today cooking do check my Instagram Page.
I used 100% finger millet flour to make the outer dough for the modaks and stuffed it with sweet peanut filling. Please refer the stuffing preparation in Verkadalai Poorana Kozhukattai were I detailed everything with Video Tutorial. the only change I did was instead of brown sugar/nattu sarkarai I used Karupatti/Palm Jaggery to make the stuffing for this recipe. You can use Coconut Jaggery Stuffing/Thengaai Puranam Instead of Peanut stuffing. I used half of the ragi dough for making sweet kozhukattai and the rest I used to make savory stuffing which I will post it soon…
If you want a no stuff modak using millet flour then do check this Millet Modak recipe.
Finger Millet Ragi Flour
Ragi / Kezhvaragu is called as Finger Millet in English, which has high protein and mineral content. Its well available in the form of whole grain or as fine flour in Indian stores or do use Bobs Red Mill Millet Flour to this recipe. I do have several Ragi / Finger Millet Recipes in my blog do check my collection of Ragi recipes by pressing the below button.
Millet Kozhukattai Ingredients
Yields 13-15 Modaks
Outer Millet Dough Ingredients
Ragi Flour – 3/4 Cup
Salt – A Pinch
Water – 1.5 Cups
Sesame Oil – 1 Tbsp Plus More for Shaping ModaksRefer Peanut Stuffing Ingredients
Used exact ingredients except Brown sugar which I replaced with 1/2 Cup Palm Jaggery/Karupatti
Millet Kozhukattai Outer dough Preparation
There are two ways to make outer dough for kozhukattai. The first method is what I described here, which uses ground millet batter or Instant flour. Cook it with water until it forms a stiff dough. This method is easy for beginners. The dough is very flexible to work with while shaping the kozhukattai using mould or without mould. The second method is mixing flour with boiling water in a wide bowl until it reaches a stiff dough. Its described already in Ragi Idiyappam Recipe. If water is not hot you may end with uncooked and non pliable dough. If you add more water while mixing then you have to follow the first method to fix the dough. Lets go with first method….
- In a wide pan add flour, salt (Pic 1) and water.
- Make a lump free millet batter (Pic 2).
- Bring this mixture to boil in medium flame by stirring the batter (Pic 2).
- Once the batter starts bubbling (refer video) then it starts to thicken very quickly so keep an eye.
- At this stage continue stirring, you may use wire whisk and non stick pan to ease this process.
- I have a very clear video tutorial for this process which is a key for the right kozhukattai consistency.
- Do check the video tutorial at the bottom of this post.
- The millet batter thickens quickly like shown in Pic 3 & 4.
- Do keep stirring from this point in low flame by adding sesame oil (Pic 4).
- Oil helps not to burn the ragi dough at the bottom of the pan and prevents forming lump.

- Continue stirring until it reaches a non sticky dough.
- All the moisture should evaporate and form a stiff dough (Pic 5).
- Let it cool at room temperature meanwhile you can prepare the stuffing.
- When the outer dough is warm apply oil to your palm and knead to soft pliable dough (Pic 6).
- The dough should not be sticky and gooey after kneading otherwise cook again and bring to that consistency.
Second Version of Outer Dough
Recently I made this same recipe with a slight change yesterday for Ganesh Chaturthi. Will upload step by step pictures soon.
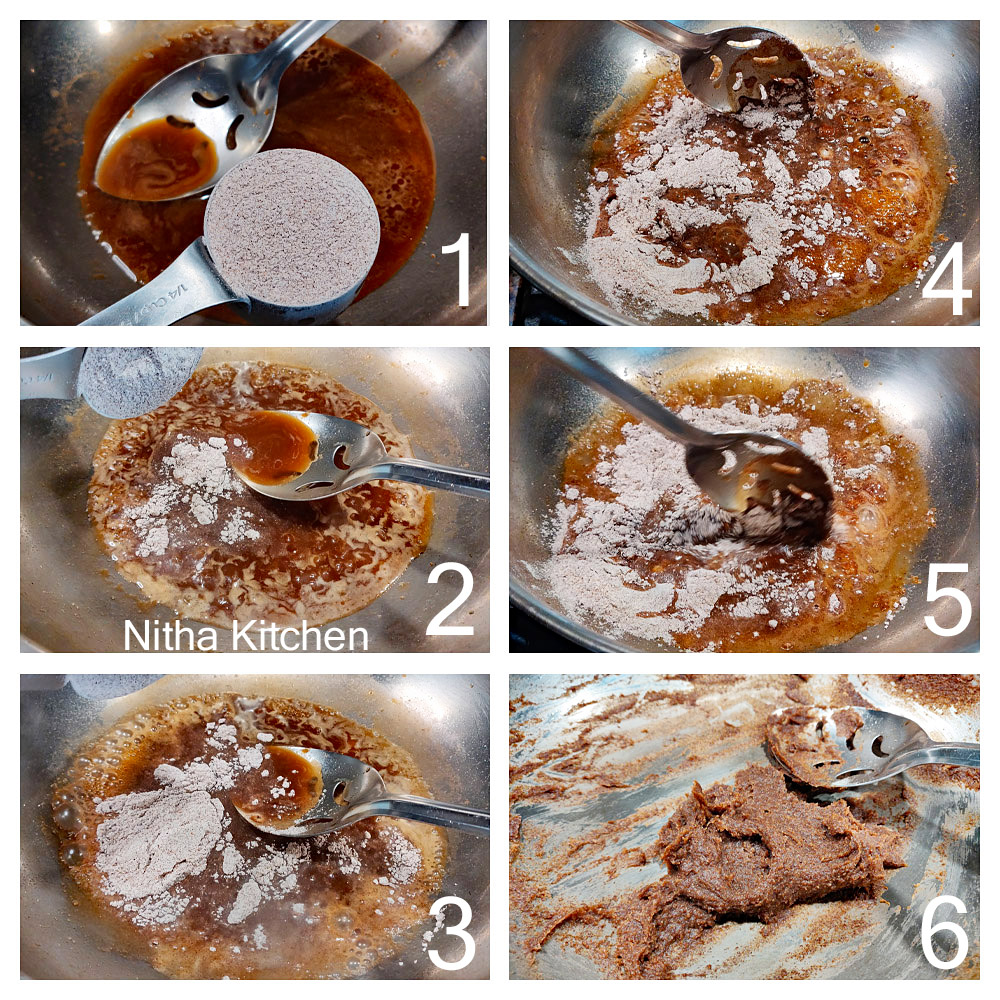
Its nothing but I added a small portion of filtered palm jaggery syrup along with water (Pic 1). Then bring to boil when it comes to rolling boil add ragi flour in batches (Pic 2, 3,4,&5). Do stir quickly and make a stiff dough (Pic 6). The rest of the filling process are same as mentioned here in the recipe details. It worked great and tasted so yum. Kids didn’t feel they are having millet kozhukattai and said it tasted like chocolate. You can follow the same if using the entire dough to make the sweet filling 😊 alone.
How to Stuff and Shape Millet Kozhukattai
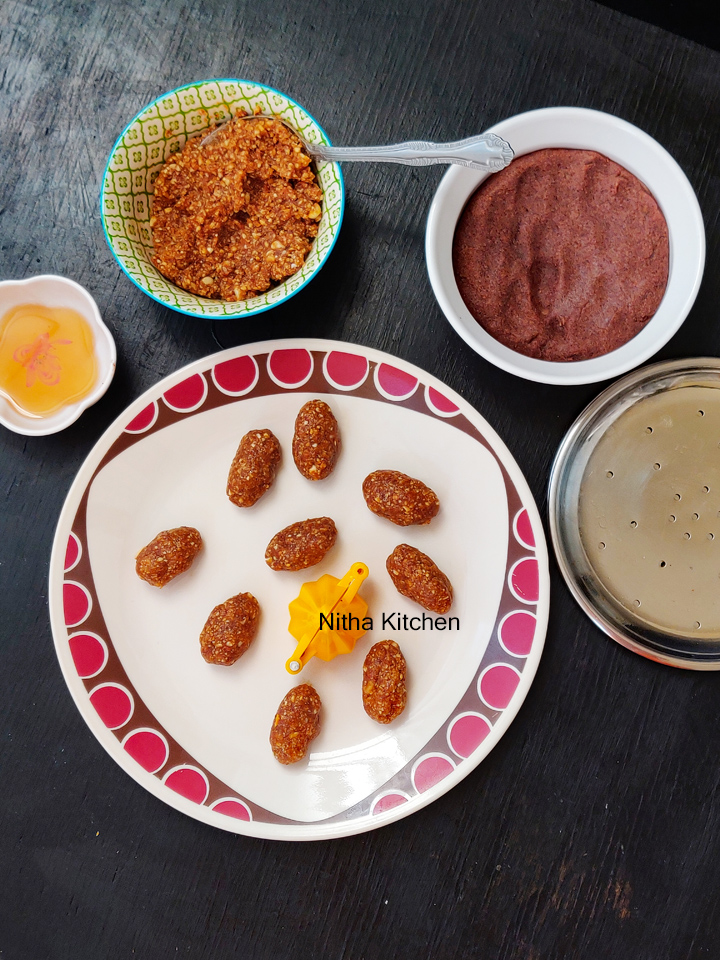
- Prepare the stuffing you want and keep it ready.
- Grease the plates to place shaped modaks and keep it ready (like shown above).
- Either pinch the stuffing and make oval (for stuffing in the mould) or round balls to manually shape the kozhukattai (Pic 1) .
- I have described both methods here today.
- Grease your palm and the mould with sesame oil (pic 1) and position it closed.
- Take a small lemon size outer dough and insert it into the mould evenly without any gap (pic 2). i.e should not see inner mould
- Also press dough with a finger (Pic 2) to get good mould impression on your kozhukattai.
- Now gently stuff the prepared peanut filling in to it (Pic 3).
- Take a pinch outer dough and seal the bottom of mould with it (Pic 4).
- Gently open the mould and release the stuffed millet kozhukattai (Pic 5).
- I have shown demo on how to shape the kozhukattai without using mould in the video tutorial please do check it.
- The output is shown in the picture 6 above.
- Arrange the shaped kozhukattai / modaks over greased idli or steamer plate.
How to Steam Millet Kozhukattai
I will add step by step pictures of steaming /millet kozhukattai in Idli pan/ stove top method here in this space soon.
How to Steam Millet Kozhukattai in Instant Pot
- Layer the kozhukattai placed plates on steamer stand or idli stand (Pic 1).
- Add water to Instant pot inner pot and set sauté mode high (Pic 2) by closing the IP with glass lid (Pic 3).
- Let the water comes to boil, once its boiling do cancel the sauté option (Pic 3).

- Place the steamer stand gently in to the boiling water (Pic 4).
- Cover it with lid by pressing the steam release button down ie steam mode (refer picture 5) or check the video tutorial.
- Pressure cook high for 5 minutes in steam mode using manual timer (use manual timer for steam mode, refer video).
- Once done, remove the lid, kozhukattai looks shiny as shown above & step by step Picture 6.
- Serve piping hot tasty millet kozhukattai immediately.
Recipe Card
- Ragi Flour – 3/4 Cup
- Salt – A Pinch
- Water – 1.5 Cups
- Sesame Oil – 1 Tbsp Plus More for Shaping Modaks
- Peanut Powder/Verkadalai Podi – 3/4 Cup
- Palm Jaggery/Karupatti – 1/2 Cup
- Cardamom Powder – 1tsp
- Shredded Coconut – 2 Tbsp
- Sesame Seeds – 1 Tbsp
- Ghee – 1/2 Tbsp
-
In a wide pan add flour, salt (Pic 1) and water.
-
Make a lump free millet batter (Pic 2).
-
Bring this mixture to boil in medium flame by stirring the batter (Pic 2).
-
Once the batter starts bubbling (refer video) then it starts to thicken very quickly so keep an eye.
-
At this stage continue stirring, you may use wire whisk and non stick pan to ease this process.
-
I have a very clear video tutorial for this process which is a key for the right kozhukattai consistency.
-
Do check the video tutorial at the bottom of this post.
-
The millet batter thickens quickly like shown in Pic 3 & 4.
-
Do keep stirring from this point in low flame by adding sesame oil (Pic 4).
-
Oil helps not to burn the ragi dough at the bottom of the pan and prevents forming lump.
-
Continue stirring until it reaches a non sticky dough
-
All the moisture should evaporate and form a stiff dough (Pic 5).
-
Let it cool at room temperature meanwhile you can prepare the stuffing.
-
When the outer dough is warm apply oil to your palm and knead to soft pliable dough (Pic 6).
-
The dough should not be sticky and gooey after kneading otherwise cook again and bring to that consistency.
-
Prepare the stuffing you want and keep it ready.
-
Either pinch the stuffing and make oval (for stuffing in the mould) or round balls to manually shape the kozhukattai (Pic 1) .
-
I have described both methods here today.
-
Grease the mould with sesame oil (pic 1) and position it closed.
-
Take a small lemon size outer dough and insert it into the mould evenly without any gap (pic 2). i.e should not see inner mould
-
Also press dough with a finger (Pic 2) to get good mould impression on your kozhukattai.
-
Now gently stuff the prepared peanut filling in to it (Pic 3).
-
Take a pinch outer dough and seal the bottom of mould with it (Pic 4).
-
Gently open the mould and release the stuffed millet kozhukattai (Pic 5).
-
I have shown demo on how to shape the kozhukattai without using mould in the video tutorial please do check it.
-
The output is shown in the picture 6 above.
-
Arrange the shaped kozhukattai / modaks over greased idli or steamer plate.
-
Layer the kozhukattai placed plates on steamer stand or idli stand (Pic 1).
-
Add water to Instant pot inner pot and set sauté mode high (Pic 2) by closing the IP with glass lid (Pic 3).
-
Let the water comes to boil, once its boiling do cancel the sauté option (Pic 3).
-
Place the steamer stand gently in to the boiling water (Pic 4).
-
Pressure cook high for 5 minutes in steam mode using manual timer (use manual timer for steam mode, refer video).
-
Once done, remove the lid, kozhukattai looks shiny as shown above & step by step Picture 6.
-
Serve piping hot tasty millet kozhukattai (pic 6) immediately.
Recipe Video




[…] Ragi Millet Kozhukattai With Verkadalai Puranam […]