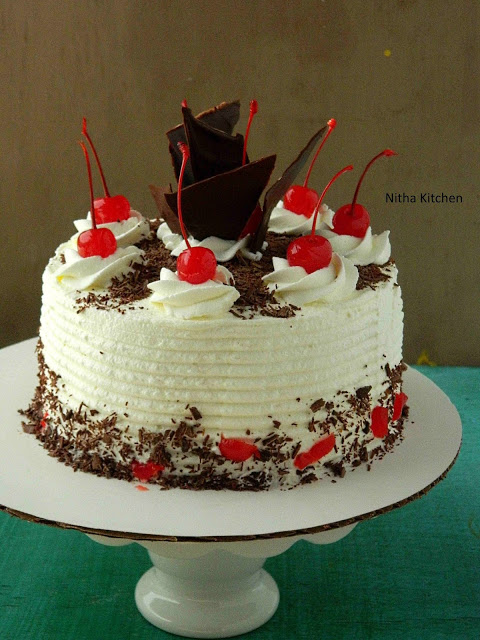
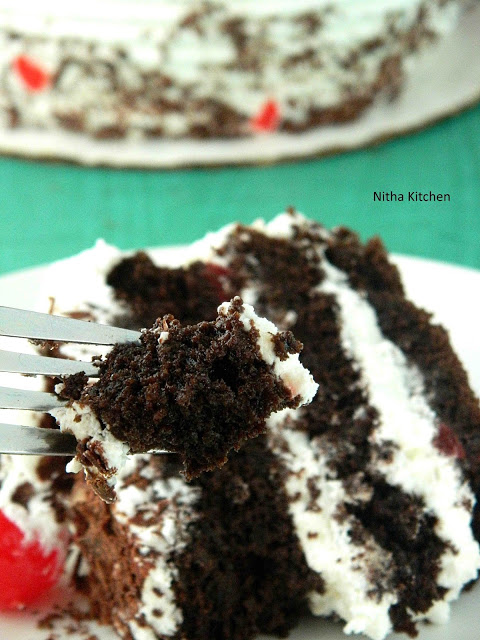
Coming to today’s recipe this Eggless Black Forest Cake aka chocolate cake is made in a way the cake batter slowly mixed with well boiled aka hot chocolate mixture in batches so the batter gets shiny glossy and have to pour the prepared batter immediately in the cake pan and bake in preheated oven to get super spongy chocolate cake. I am practicing this method and recipe for
a while and its super hit all over. I am going to share some pictures where I have used at the end of the post. Also I used this sponge undoubtedly as a base for Black Forest Cake. I have included the recipe and decoration pictures in detail for your reference. Do please read the entire recipe with tips completely before start making it to get the perfect one.
Yields – 3 – 8 inch layer cake of 1.25 inch height each approx or 24 mini cupcakes plus 1- 6 inch cake of 3 inch height
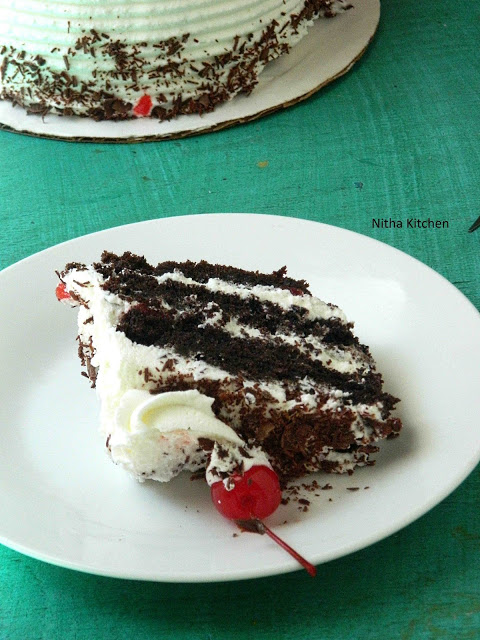
Ingredients for the Hot Chocolate Cake
All Purpose Flour/Maida – 2 and 1/4 Cups (You can replace half of the quantity with wheat flour)
Cocoa Powder – 1/2 cup (I use mix of dark and natural cocoa)
Sugar – 1/2 cup (You can add a proportion (1:1) of dark brown sugar, ie 1/4 cup regular sugar and half cup dark brown sugar as I did so)
Coffee Powder – 1-1.5tsp (Optional)
Sweetened or Semi Sweetened Chocolate Bar (Baking bar or regular chocolate both works, use good quality with 60% cocoa otherwise increase 2 tbsp of cocoa powder) – 1 Bar (4 oz)
Sweetened Condensed Milk – 1.5 Cups
Oil – 1/2 Cup (Regular Oil)
Unsalted Butter – 1.5 Sticks / 12 Tbsp ( 1 stick is 8 tbsp)
Vanilla Extract – 1tsp
Almond Extract – 1/2tsp (Optional)
Warm Water – 1 Cup plus 2 Tbsp (this plus 2 Tbsp you may not need just to adjust the consistency of the batter, do check the short video)
Butter Milk – 1/4 Cup
Baking Powder – 2.25tsp
Baking Soda – 3/4tsp
Salt – 1/2tsp
Eggless Black Forest Cake Preparation
- Make sure you have the ingredients ready out from the cabinet.
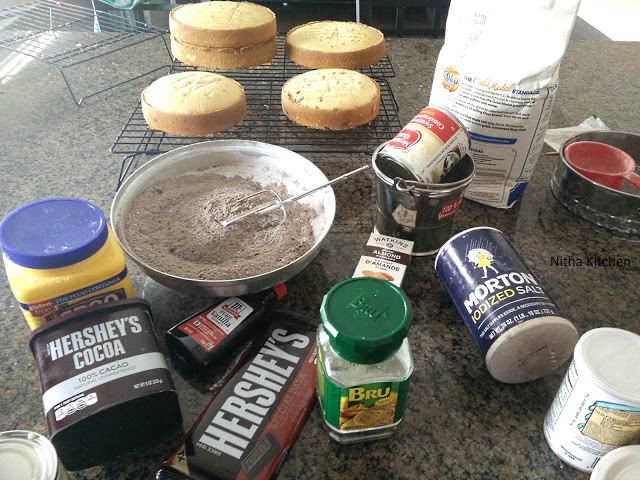

- In a separate bowl add flour, baking powder, baking soda, cocoa powder and salt sift together then keep aside.
- Melt the butter, when they are hot add brown sugar, oil and condensed milk to it (Pic 1).
- Now add the flour mixture in batches(Pic 2) for the first batch add the butter milk.
- Now in warm boiling water melt the chocolate bar once it dissolved completely add it to the cake batter in batches immediately without any delay, alternate with the remaining dry flour mixture.
- Finally add vanilla extract and the final batter should be like shown in video below.
- Also the batter looks shiny, glossy (Pic 3 and 4) and bubbles appear here and there its normal.
- Pour the batter in desired pan and bake for mini cupcakes it took just 7-8 minutes in 350 F or 180C.
- For the round 2-8 inch cake pans it will take 20-22 minutes.
Here is the baked goodies picture
And the mini cupcakes I took it for a potluck last saturday with chocolate buttercream icing, here is the picture of it.
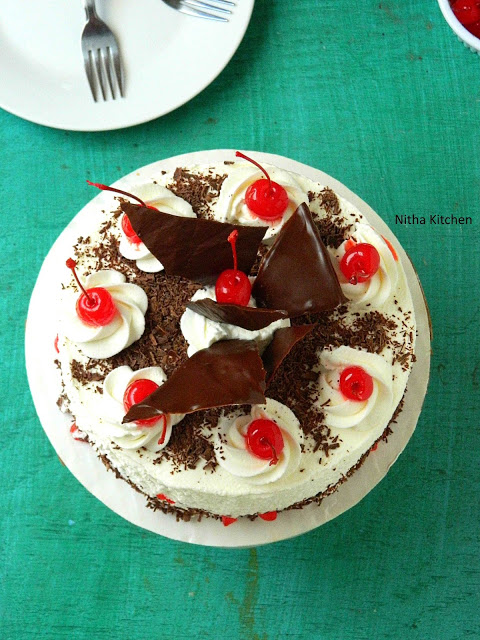
How to make Eggless Black Forest Cake
- The cake is so soft and tender so do follow the tips correctly to attain the perfect decoration.
- 3 layers of Chocolate Sponge (prepared from above recipe)
- For 6 inch cake with 3 inch height, you may need 450 ml heavy cream/whipping cream
- For 8 inch cake with 3 layers of 4 inch height approximate, you may need 750ml of whipping cream approx.
- You may reduce the whipped cream but I have given the maximal quantity.
Icing Sugar – 1 Cup or more (1 cup is for light/mild sweet, you can increase as you like)
Vanilla Extract – 1tsp
Cherry Syrup or Any syrup as you like to wet the cake (you can add 1/2tsp coffee granules to simple sugar syrup if you don’t have any flavor)
For homemade cherry syrup refer here.
Pitted and chopped cherries
Few Maraschino Cherries with stems to decorate on top.
Milk Chocolate or Fav good quality chocolate – 1 packet
For simple sugar Syrup
1/3 Cup Sugar + 1 Cup water (this is light sugar syrup, just boil until sugar melts that’s it, here you can add mild vanilla or coffee flavor as you like).
- So whatever chocolate cake you bake, make even layers of 3 or 4 as you like.
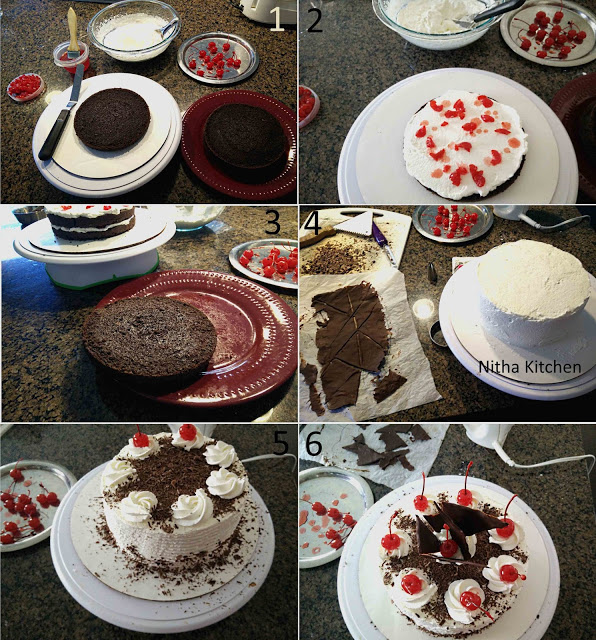
- Keep ready with the ingredients you need for decoration (Pic 1).
- Do read the tips at the end of the post too.
- Wet the cake sponge, I wet both sides but be careful while handling it will break otherwise (Pic 1).
- Arrange the first layer, add a dollop of whipped cream, even it and top with some chopped cherries (Pic 2).
- Repeat the above process for next layers as well (Pic 3).
- Meanwhile melt the good quality chocolate (3/4th I shredded for decoration quarter part I melted to make some pattern over the cake, refer stepwise picture 4 above)
- For that just microwave or using double boiler melt it and apply over parchment paper, thin it (I made it too thin and it started melting while clicking on sun light so better make it medium thick)
- Score randomly here and there using knife and then freeze the parchment paper till use.
- So one done with applying cream all over the cake, make pattern on the sides of the cake I have the tool which I used in stepwise picture 4.
- Now add the shredded chocolates all over the top and sides of the cake (Pic 5).
- Use Wilton 1M tip and make designs on top of the cake using whipped cream.
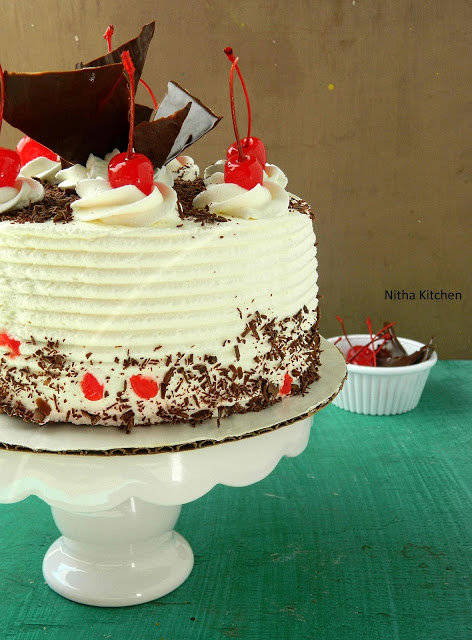
- Now decorate it with cherries with stem(Pic 5 & 6), also at the center gently decorate with chocolate patterns (Pic 6) that made and kept in freezer.
- Enjoy 🙂
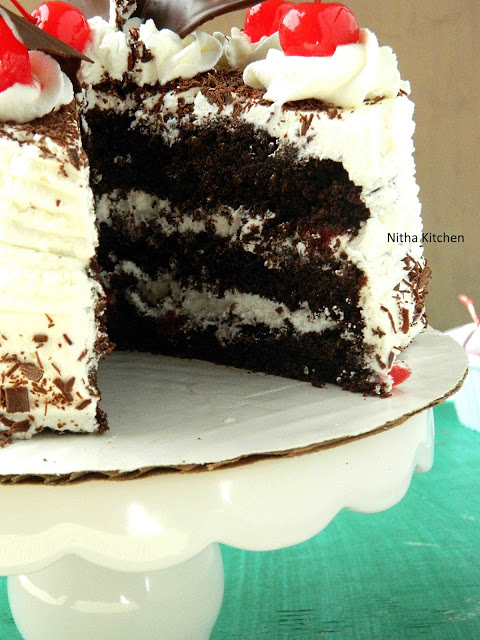
Tips
As I mentioned earlier the cake is so moist, so here are few tips to handle with care while decorating the cake.
- I made the cake earlier and freeze it till use, so 2 hours before the time of decoration I kept it in room temperature.
- Level the top when they are cold so you get minimal crumbs.
- I just warmed each layer for just 20 seconds (1 inch cake layer) to retain the soft then when they are slight warm I added the syrup.
- So I have arranged all the layers like it, but don’t apply whipped cream when the cake or syrup is warm, it will melt the cream.
- And for cupcakes the cake batter should be little runny so after the video stage you have to add another 1/4 cup hot water.
- For cakes make consistency as shown otherwise so hard to work with.
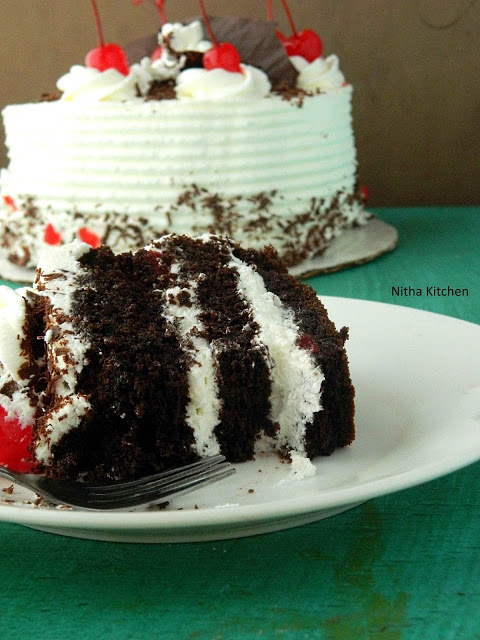
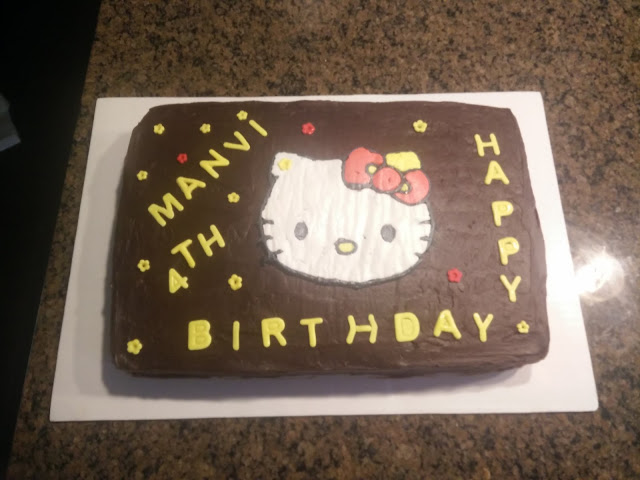
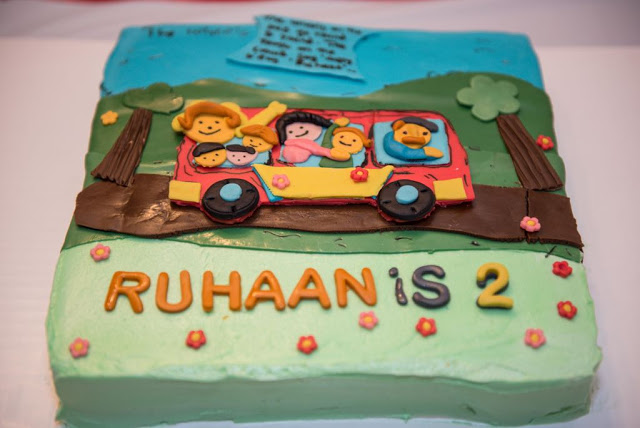
Here is the picture of simple Hello Kitty and Wheels on the Bus made with eggless hot chocolate cake.
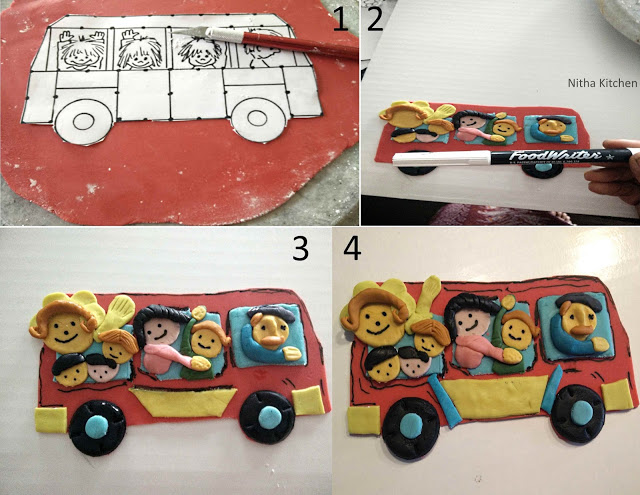
Few asked how I made this Wheels on the bus, I took a print out of a bus picture I found in google search and here are few pictures how I used it to make the fondant bus. I prepared the fondant bus cake topper two days ahead of cake assembling. The fondant is homemade marshmallow fondant and I have not used any special cookies cutter to make the bus except faces and wheels where I used two different size round cookie cutters to make round. Also I used edible food writer(Pic 2) to mark the faces.
Hope you enjoyed this lengthy post see you soon with other interesting recipe 🙂
Homemade Whipped Cream Video Tutorial


Seems very yummy and delicious and I will try to bake this cake…..
Visit Dentists in Brampton
For genuine the data ones are entertaining to ponder on the grounds that it makes it additional like tension. i cherish this content. it's far give more insights to me. I'm extremely started up to uncover it to totally everybody. It makes me so happy. a debt of gratitude is in order for sharing this distribute. college paper writing service