Cake Pops with DIY Cake Pop Holder
When kids were too small I tried cake pops for the first time. Also after that I make cake pops for most of their birthday parties without fail. Its a perfect party bite even I never mind to have two or three 🙂 Recently I made Cake Pops for a party and clicked some step by step pictures while working on it in a midnight. So today’s post is going to discuss the tips and tricks to make Perfect Cake Pops with DIY Cake Pop Holder . You wonder how this post is different from my previous cake pops posts?
I learnt cake pops has to be kept in freezer before coating with candy melts. Also used whipping cream to the crumbled cake to make cake balls now things have changed.
The cake is mixed with flavored buttercream to give smooth and perfect texture to the cake balls also it hardens fast , easy to work with and its always not necessary to chill it before inserting the sticks. For several years I stick with Candy melts and now started using chocolate wafers. I have to mention Ghirardelli Melting Wafers which is a perfect chocolate to coat or decorate your dessert. Ghirardelli is bit expensive when compared with other brands but its worth each penny.

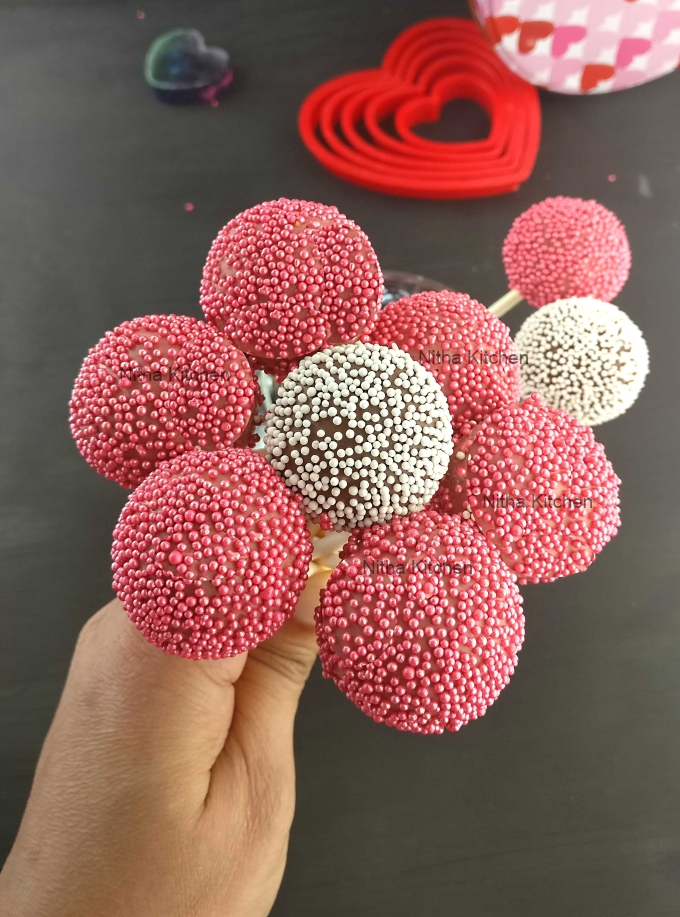
Cake pops with DIY Cake Pop Holder
Also this post helps to clear doubts for beginners in making cake pops like
- When do you need to freeze the cake balls ?
If you are making shaped cake pops / customized cake pops like heart instead of regular round cake pops then the rolled cake pop needs to be firm (may be 5- 8 minutes in freezer before cutting out the shapes).
- How thick and weight the cake balls should be?
I use 4 inch pop sticks for that each round cake balls should weigh between 20 – 22 grams each. Also for shaped cake pops do ensure the thickness of it is more than 1/3 inch.
- How long do you need to rest the cake balls?
The round cake pops just needs to chill in refrigerator for 15-20 minutes before inserting the pop sticks. Since the shaped cake pops were in freezer before making shapes just 10 more minutes in refrigerator works make sure they are firm enough to hold before inserting the sticks.
- Can we use wooden sticks instead of lolly pop sticks?
Yes of course do check my Heart Shaped Wooden Stick Cake Pops HERE.
- What are the different ways to melt chocolate wafers or candy melts?
Either double broiler or defrost in microwave for first few seconds and then melt in microwave till they melt. Few tiny chunks are absolutely fine and they melt in that warm. Also once it turns smooth do chill it under regular water. If you are adding shortening do add once they are out from the microwave. They melt in that chocolate warmness. If you have narrow container do immerse directly in boiling water to melt the candy melts.

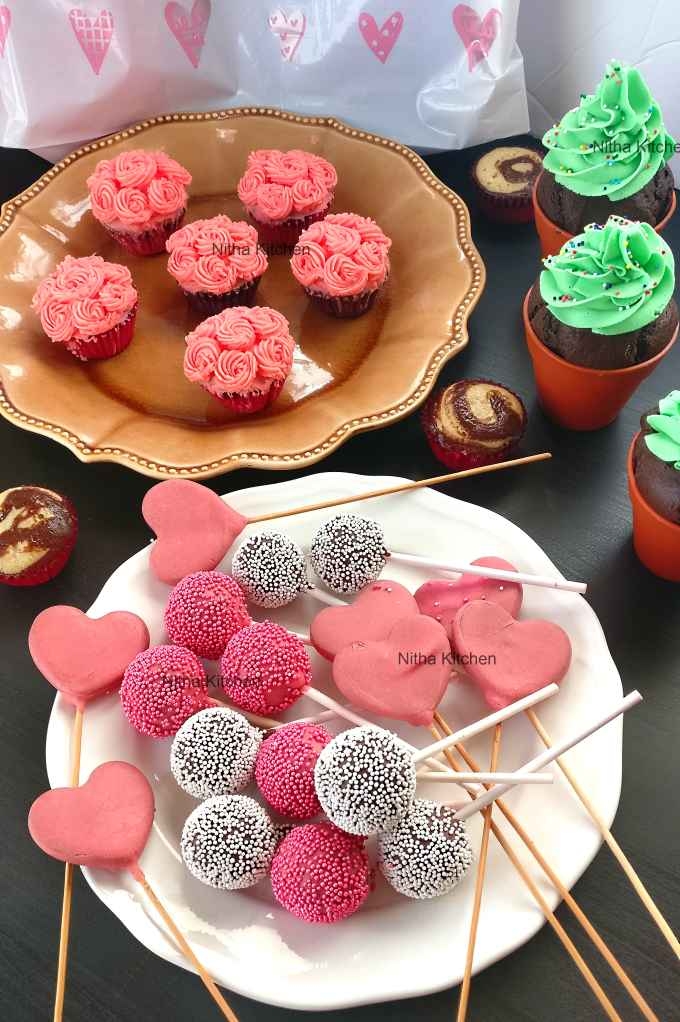
Valentines Treat for my Kids, Eggless Choc Cupcakes and Heart Shaped Cake Pops
- How hot the melted chocolates should be?
Before dipping the lolli pops sticks or cake pops in melted chocolate make sure its in lukewarm temperature. If they are medium to high hot then there are lots of chances for the chocolate melts to give crack over the cake pops. If happened so do fix the crack using melted chocolate using toothpick. All those mess gets hidden when you decorate it with sprinkles.
- How the texture of melted chocolate should be?
It has to be very smooth and shiny without any grainy texture. If they look grainy do warm it to bring to the right consistency. Always microwave fraction of seconds not to over burn the melts.
- How to thin the melted chocolate?
Either Vegetable shortening or flavorless oil or mix of both works to thin the melted candies. Is it necessary to thin the coating, the candy wafer packet says once melted do dip it in strawberries so and so . But for cake pops especially when you add sprinkles do thin it otherwise the cake pop coated with undiluted melts sets very fast and you don’t get chance for further decoration.
- What is the time frame to add sprinkles to the cake pops?
Candy melts thinned with oil has few more seconds compared to shortening. And overall its less than a minute for each dipped cake pops, so work accordingly.
- Tips to thin the harden candy melts
Don’t get panic when melted chocolate hardens. When you dip and remove excess from cake pops if they are not falling and hardens quick then its time to warm the mixture for fraction of seconds. If needed add shortening or oil to thin.
Perfect Cake Pops with DIY Cake Pop Holder

perfect cake pops with DIY cake pop holder
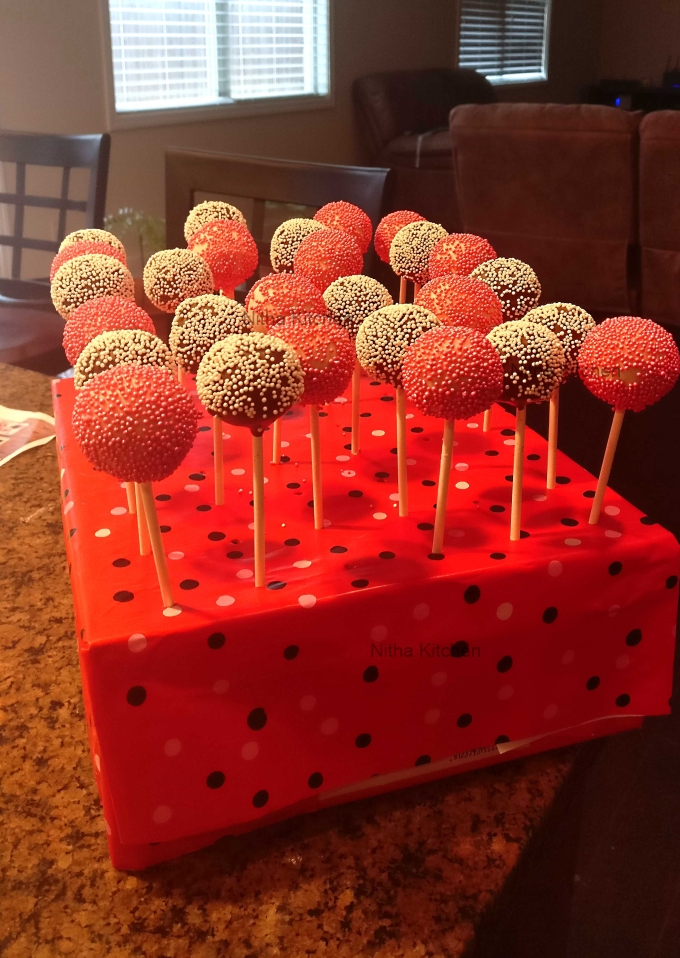
DIY Cake Pop Holder
- Take a shoe box or small card board box.
- On the top/ lid make holes with even space (1.5 inch) and the holes should exactly match the size of the Lollipop stick.
- If the holes are big then the cake pops don’t stand on top of the board.
- Cover it completely with decorative gift paper wrap.
- Eye ball and pierce hole over the gift paper wrapped box.
- That’s it all set to place cake pops 🙂

DIY Cake Pop Holder
Cake Pops Ingredients
Candy Wafers or Candy Melts
Cake or leftover Cupcakes
Vanilla Buttercream Frosting
Veg Shortening
Popsticks (Wilton 4 inch lolly pop stick)
Optional Sprinkles (I used Pink Wilton Sprinkles and Great value White Sprinkles here)
Cake Pops Preparation
- Do read the tips before start making.
- Crumble the cake , add buttercream(Pic 2 below) and make smooth even size cake balls.
- Lay them on a parchment paper placed cookie sheet.
- You can roll the cake balls ahead and refrigerate up to 24 hours.
- Bring the cake balls to room temperature 10 minutes ahead of dipping in.
- Melt the candy melts in a glass bowl as discussed previously and thin it for thick pouring consistency.
- Allow it to cool before start working (Pic 4 below).

Cake Pops Preparation
- Dip one end of pop stick in candy melt and insert half way through the prepared cake ball.
- Place them on the same cookie sheet sticks pointing up.
- Whenever you feel the melted candy hardens/sets microwave or warm it fraction of seconds to bring it back to thin consistency.
- Dip each pop stick inserted cake balls in melted candy (Pic 1 below), gently tap the excess and immediately add sprinkles if desired (Pic 2).
- Place it on prepared cake pop holder and repeat the same until all are done (Pic 3 & 4).
- The finished cake pops stays fresh stored in dark room under 40 F without covering for 24 hours and covered cake pops up to 3 days..

Cake Pops Preparation
- Also you can wrap each cake pop with treat bags, gently stack them in an air tight container and store in refrigerator or freezer for long shelf life.
- If not using in 24 hours I usually refrigerate and thaw for an hour before serving.

Perfect Cake Pops with DIY Cake Pop Holder
Notes
- You can use chocolate chips instead of candy melts but it needs extra time and care.
- Do melt wafers in small quantity and use a deep /narrow bowl.
- Just 2 minutes of time is enough for the candy melts to set on pop sticks anyways give priority to first stick inserted cake balls for dipping. .
Recipe Card

Learn to make Perfect Cake Pops with DIY Cake Pop Holder
- Candy Wafers or Candy Melts
- Cake or leftover Cupcakes
- Vanilla Buttercream Frosting
- Veg Shortening
- Popsticks Wilton 4 inch lolly pop stick
- Optional Sprinkles I used Pink Wilton Sprinkles and Great value White Sprinkles here
-
Do read the tips before start making.
-
Crumble the cake , add buttercream(Pic 2 below) and make smooth even size cake balls.
-
Lay them on a parchment paper placed cookie sheet.
-
You can roll the cake balls ahead and refrigerate up to 24 hours.
-
Bring the cake balls to room temperature 10 minutes ahead of dipping in.
-
Melt the candy melts in a glass bowl as discussed previously and thin it for thick pouring consistency.
-
Allow it to cool before start working (Pic 4 below).
-
Dip one end of pop stick in candy melt and insert half way through the prepared cake ball.
-
Place them on the same cookie sheet sticks pointing up.
-
Whenever you feel the melted candy hardens/sets microwave or warm it fraction of seconds to bring it back to thin consistency.
-
Dip each pop stick inserted cake balls in melted candy (Pic 1 below), gently tap the excess and immediately add sprinkles if desired (Pic 2).
-
Place it on prepared cake pop holder and repeat the same until all are done (Pic 3 & 4).
-
The finished cake pops stays fresh stored in dark room under 40 F without covering for 24 hours and covered cake pops up to 3 days..
-
Also you can wrap each cake pop with treat bags, gently stack them in an air tight container and store in refrigerator or freezer for long shelf life.
-
If not using in 24 hours I usually refrigerate and thaw for an hour before serving.
You can use chocolate chips instead of candy melts but it needs extra time and care. Do melt wafers in small quantity and use a deep /narrow bowl. Just 2 minutes of time is enough for the candy melts to set on pop sticks anyways give priority to first stick inserted cake balls for dipping. .

Perfect Cake Pops with DIY Cake Pop Holder
[…] you begin any decorating process, it is important to make sure that your cake pop stick is clean and free from any dirt or debris. Simply take a damp […]