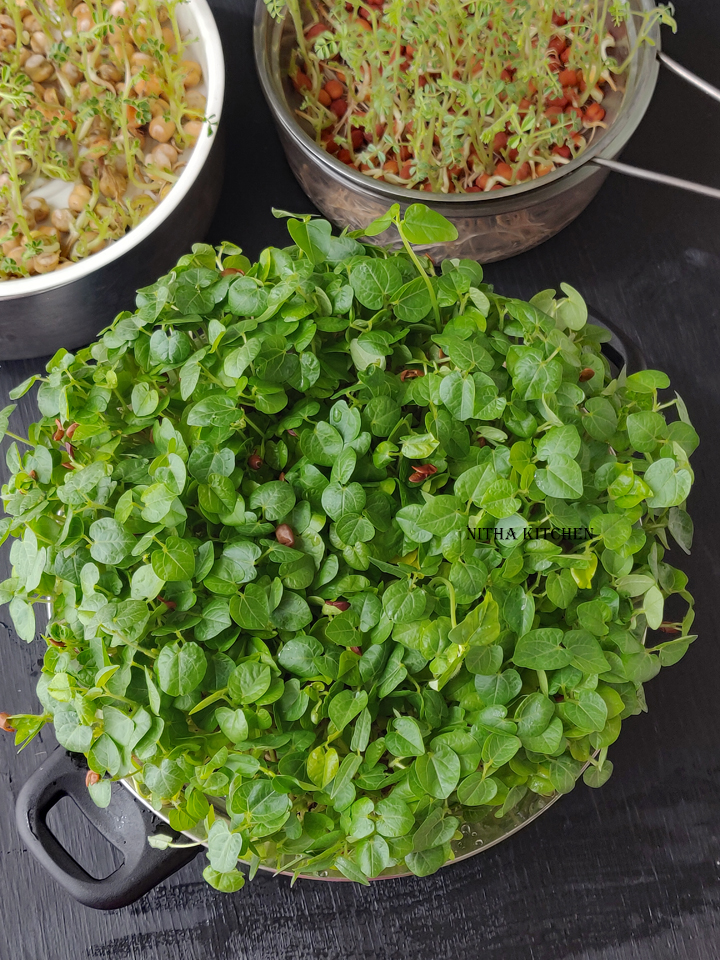
How To Grow Microgreens within a quick time span. I grow microgreens very often ie every week. Any beans/seeds of just 1/4 cup which feds us for the entire week of 4. Either using sprouts or microgreens , I make a filling salad or else I use them up in curries or idli dosa batter 🙂
Already few healthy sprouts based recipes are available in blog and do check the recipe links below. I mostly prefer Horse gram / Kollu / Kulthi and you can see more recipes in blog relevant to it.
Horse gram is considered as fat burner and you can find it in any Indian stores. Seriously after started growing my own micro greens I feel my tummy is filled with healthy food, satisfied and refreshing. Will come up with Microgreens based recipes (refer video at 5:56 minutes) one by one in near future. Also I will add up in this post when I try more seeds in future.
Asian Microgreens Vegetable Salad Recipe
Horse Gram Sprouts Gravy / Kollu Kurma
Horse Gram Salad / Kollu Sprouts Salad
Moong Sprouts Pepper Rice Recipe
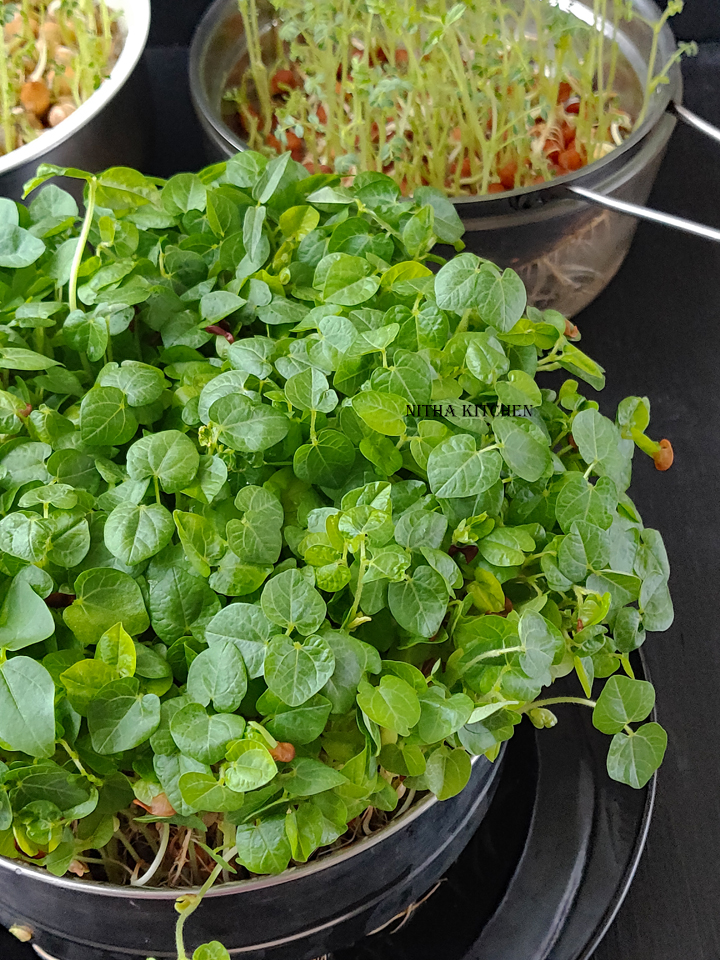
What is Micro Greens
Microgreens are young vegetable greens harvested just after the cotyledon leaves have developed. They are approximately 3-6 inches tall (depends on the type of seed you use) but mine always grows to 6 -8 inch ;-). Microgreens are used as a nutrition supplement, a visual enhancement, and a flavor enhancement for many people who focused on improving nutrition. They are considered to have equal or more nutrition value than the matured greens and vegetables. So many health benefits related to it and there is nothing harm in giving a try at home.
Advantage of Growing Micro greens in Indoor
Its organic when homegrown (yeah i mostly use our farm grown or my garden grown seeds or store bought organic seeds/beans) and that satisfaction can’t be explained in words 🙂 From sprouts to Micro greens the technique I explained uses a single pot and just sprinkle or change the water accordingly. No Extra Space needed to grow these micro greens just your kitchen counter is fine. One more advantage is you never miss to watch/care the greens due to natural calamities like you grow in outdoor.
How To Grow Microgreens
| 1. Grow Quickly within 7 days |
| 2. No Soil Used/This water technique is called Hydroponics Method |
| 3. I have not used any Seed Starter Kit |
| 4. There is No Plastic container Used |
| 5. No Chemicals Used |
| 6. No Nutrients Added |
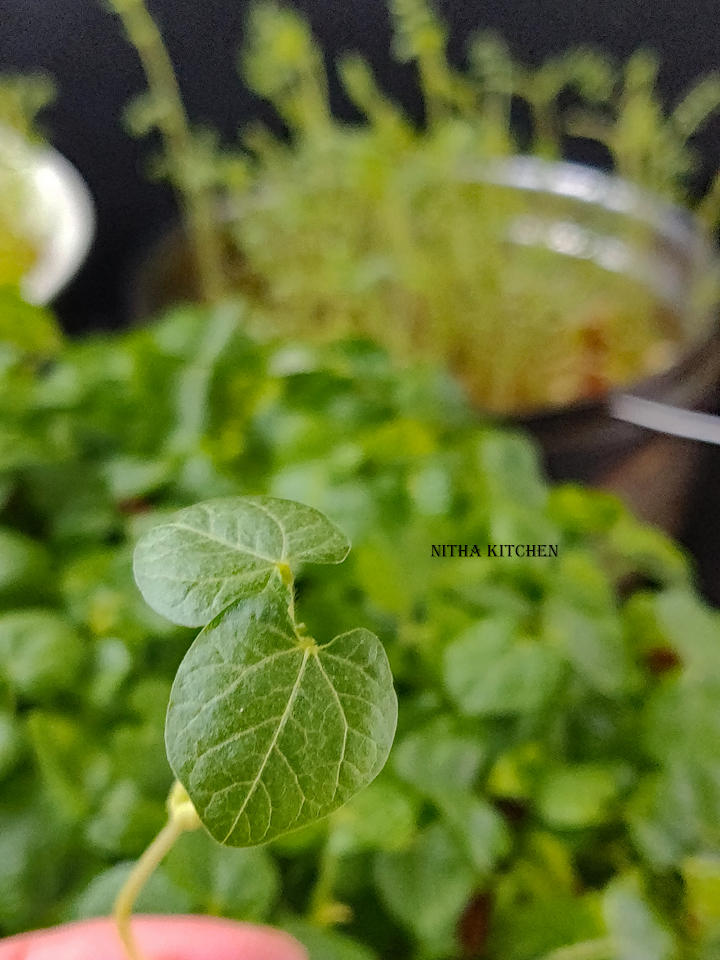
Explanation for the Video Tutorial
Sprouts germinated in the glass jar and the tissue paper methods are slow compared to hot casserole or hot box method from my personal experience. In this video tutorial I have explained several possibilities with several beans/seeds and the more easier technique I follow every week is that hot casserole method. I tried Horse Gram, Mung Beans, Black and White Chana Varieties and Black Eyed/Cow Peas Beans (not in picture or video, but i have the plant in my garden this season and will come up with new video recipes soon.
About Chana Sprouts
The Microgreens from Garbanzo/white and black chana were good but after seeing its tiny stem and strong root i planted them in the garden and got good yield in last season. Do check the video tutorial at 10:29 minutes for the garden video clips. If you wonder how long i was recording and editing these video clips, most of the video experiments come in this way and for some its just a matter of few minutes and for YouTuber/Blogger each post is a new phase in their life 🙂
What you need
1/4 Cup beans/seeds of your choice
Hot Box /Casserole/Pan with holes
Sieve/Colander/Strainer/Steamer
Water
How To Grow Microgreens
How to germinate sprouts within 3 days
- Clean and soak the seeds, after first 15-20 minutes rinse thrice and discard the water.
- With fresh water soak the rinsed seeds for 8 hours minimum (Pic 1 & 2).
- Once well soaked discard the soaked water, rinse thrice.
- Now on paper towel/cotton cloth do drain the seeds for 30 minutes, Pic 3 (this drying step is very important to prevent moulds/fungus).

- The beans/seeds still have moisture in it, arrange them on hot casserole or hot pack like shown (Pic 5).
- When you use sieve do take the one with large hole like shown in Pic 4, for the roots to penetrate easily.
- If you don’t have pan like shown do tie in cloth video at 11:56 minutes or place over pan/pot with holes (Pic 6).
- The cloth method I have shown for mung beans starting video at 11:56 minutes.
- Till the seeds shows the first leaf keep covered and on and off sprinkle water.
- Remove the excess water collected under the pan/pot.
From Sprouts to Microgreens
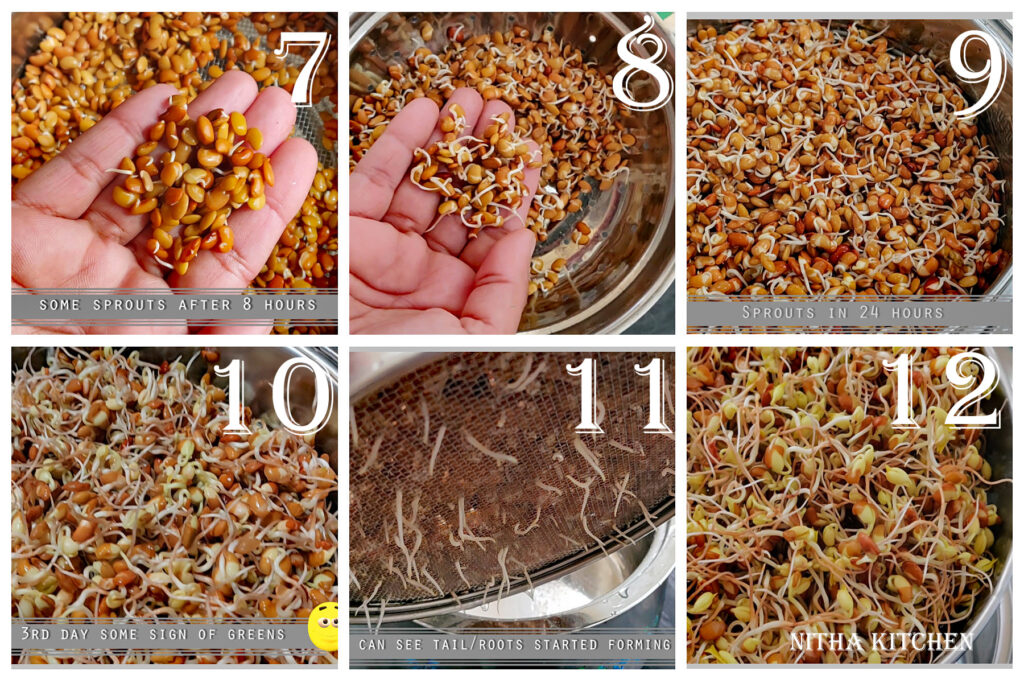
- I have shown pictures and video clip clearly how it looks after 8 hours (Pic 7), 16 hours (Pic 8), 24 hours (Pic 9) , end of 3rd day (Pic 10), 4th day (Pic 12).
- End of 3rd or 4th day the roots develop (Pic 11) and you see slight green indication that is for the leaf to come up.
- Once you see the leaf showing up don’t cover them with lid, from then store water underneath for the roots to develop.
- Also place them near window but not in direct sunlight.
- Change the water twice a day and do sprinkle water on top for the greens to grow faster.
- I just use tap water for them to grow.
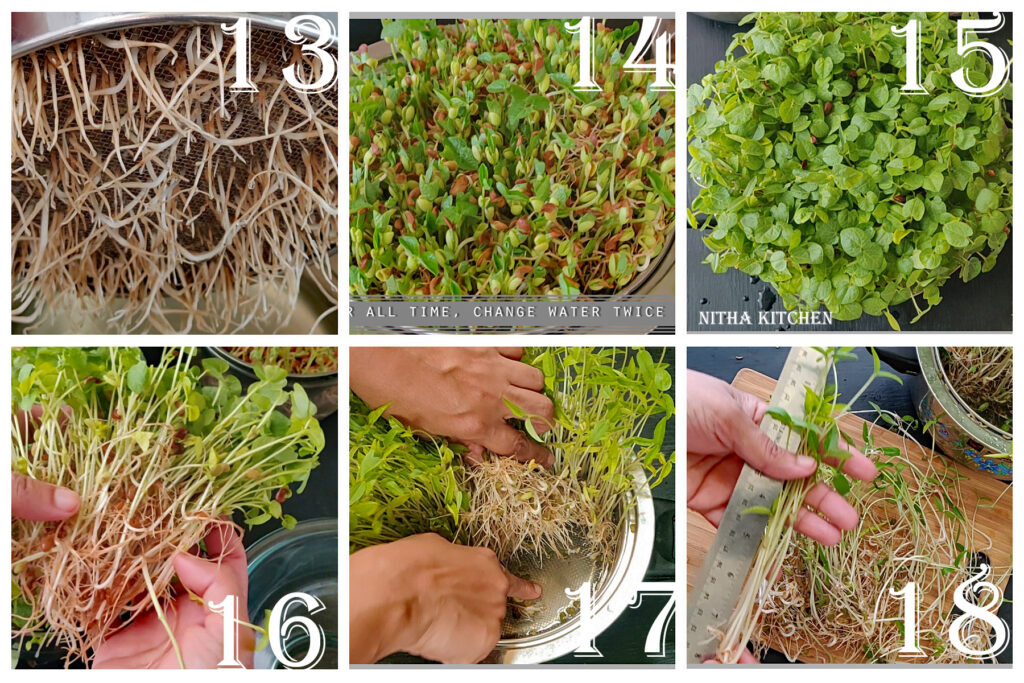
- Can see strong roots on 5th and 6 th day (refer Picture 13).
- On 5th day the microgreens are more visible with beans/seeds skin (Pic 14).
- Its nothing but the outer skin of beans detaching once it shows the leaf, and its normal.
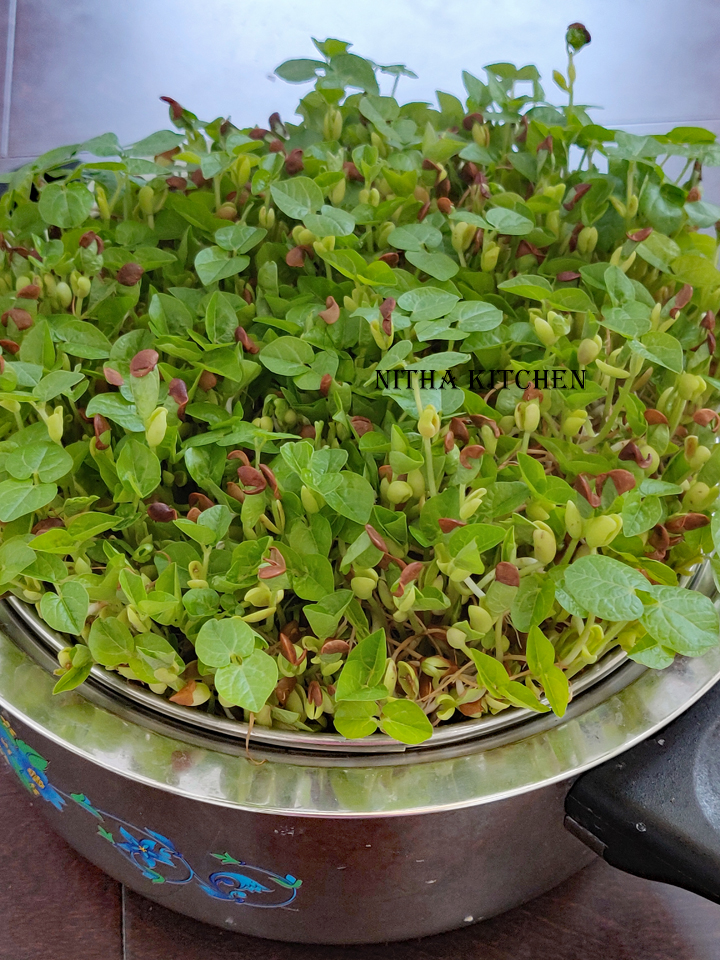
- On 6th day it looks gorgeous and is ready to use (Pic 15).
- Yeah on 6th day usually I harvest the first batch of microgreens (Pic 16).
- Can see the water level in Pic 17 I use for the roots to sustain indoor and grow taller.
- If not clear do check the end of the video and in words it should touch the roots and not the stem of the baby plant/microgreens.
- Pic 17 & 18 are to prove the no soil method and how taller it grows every time for me :-).
How To Grow Microgreens Video Tutorial

Notes
- In this technique, microgreens are just one time use and it won’t regrow.
- When the microgreens quantity is more and can’t use it up , do refrigerate them along with roots in ziploc and it stays good for few more days.once
- Don’t wet the sprouts often, just once in 8 hours is fine.
- If you cover with cloth the extra moisture is taken away it but in other methods once you spray/sprinkle water let it open for few minutes ,version excess water stayed at the bottom of the colander or pan. Later cover them tightly.
- When you try chana seeds make sure you don’t sprinkle excess water, they easily catches moulds.
- I forgot to mention earlier it grows well in any season. Very quick in hot weather/summer and our indoor temp is 78 to 83 F in summer and in winter 70 to 75 F temperature.
- All it needs is warm temperature to germinate and once sprouted then good indoor sunlight to grow up.
- So you can grow indoor in any season 😊.
[…] And there you have it, my fellow microgreen aficionado. Follow these tips, get creative, and enjoy the wonderful world of indoor hydroponic microgreens. Happy growing! [25][26][27][28] […]